
ADMIN PORTAL
Edit an extension
Update an existing extension’s name, email address, call handling, voicemail, and app access. Start with the person’s extension, then choose the tab for the setting you want to change.
Select a screenshot to enlarge it. Close the image to return to these instructions.
Find and open an extension
- Open Extensions in your administrator portal.
- Find the person or extension in the list. Use the search box and Search button to narrow the list.
- Select the pencil icon on that row to open its settings.
For information about a mobile app status icon in the Services column, hover over it to read its tooltip.
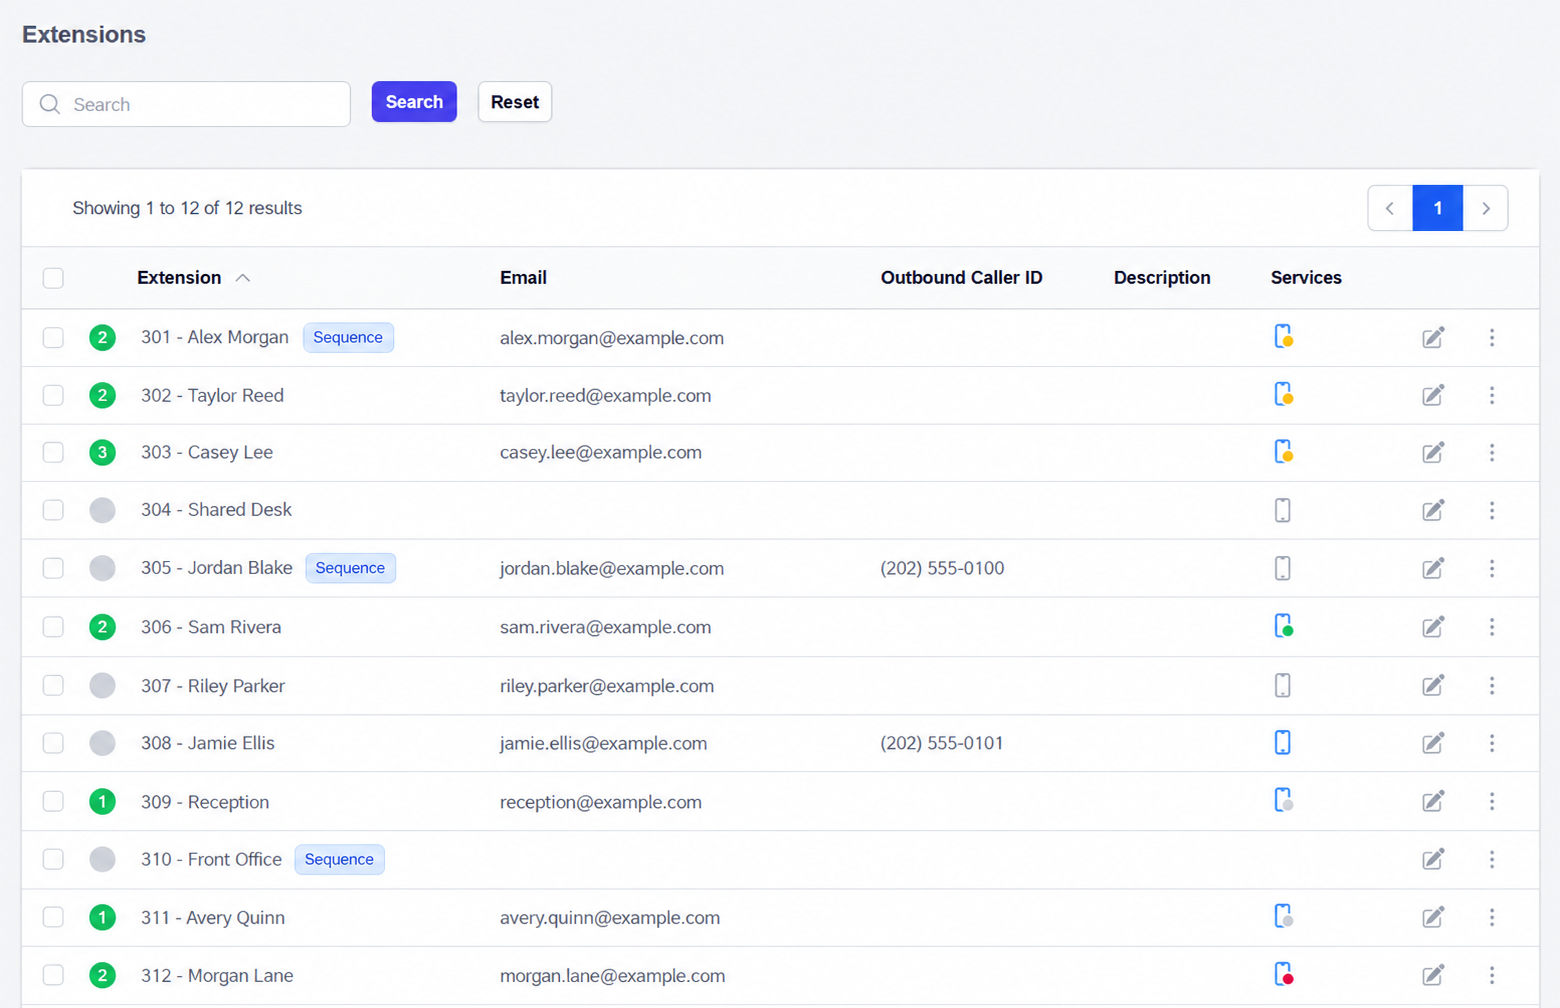
Edit a name or email address
- Choose Basic Info.
- Update First Name, Last Name, or Email. Use the email address that should receive voicemail emails.
- Add a Description if useful, such as a department or desk location.
- Select Save.
Keep the existing Extension number when you are only updating someone’s details. If you need to renumber an extension, contact Junction Cloud Connections to coordinate the change with your phones and call routing.
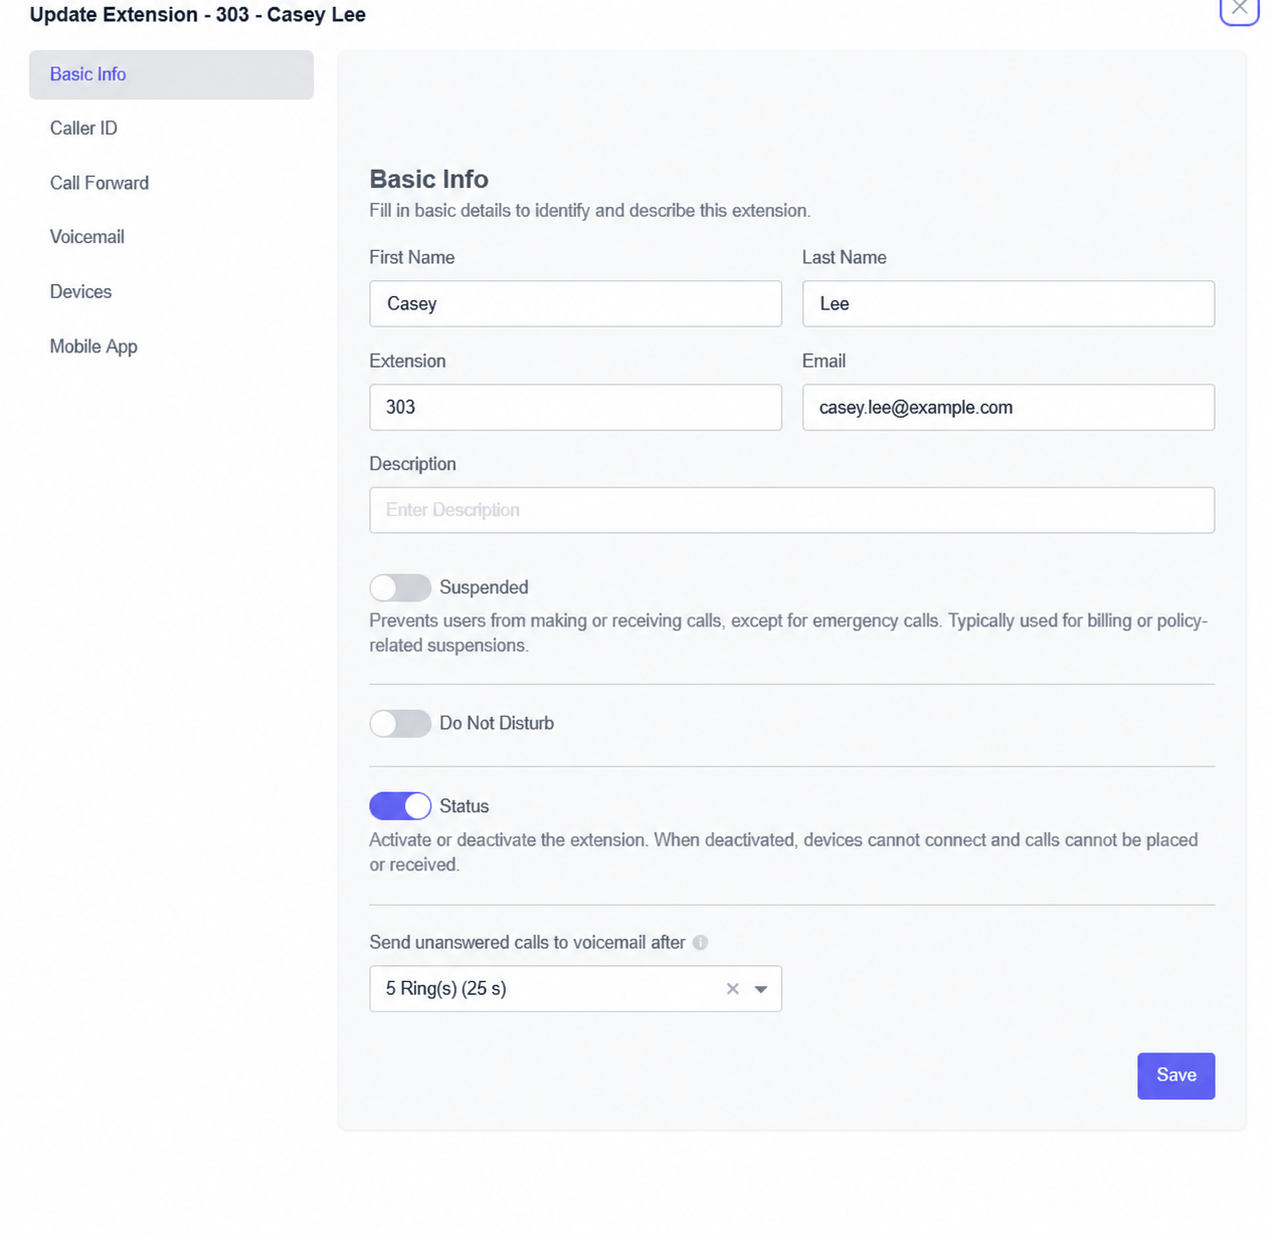
Suspend or restore an extension
In Basic Info, turn Suspended on to suspend the extension, then select Save. To restore it, turn Suspended off and save.
Suspension prevents ordinary incoming and outgoing calls; the portal identifies emergency calls as an exception. Use the Suspended control for this task. Leave the separate Status switch unchanged.
Change how long the extension rings
Under Send unanswered calls to voicemail after, choose the ring duration and select Save. Review any no-answer forwarding rule too, because that rule may direct unanswered calls somewhere other than voicemail.
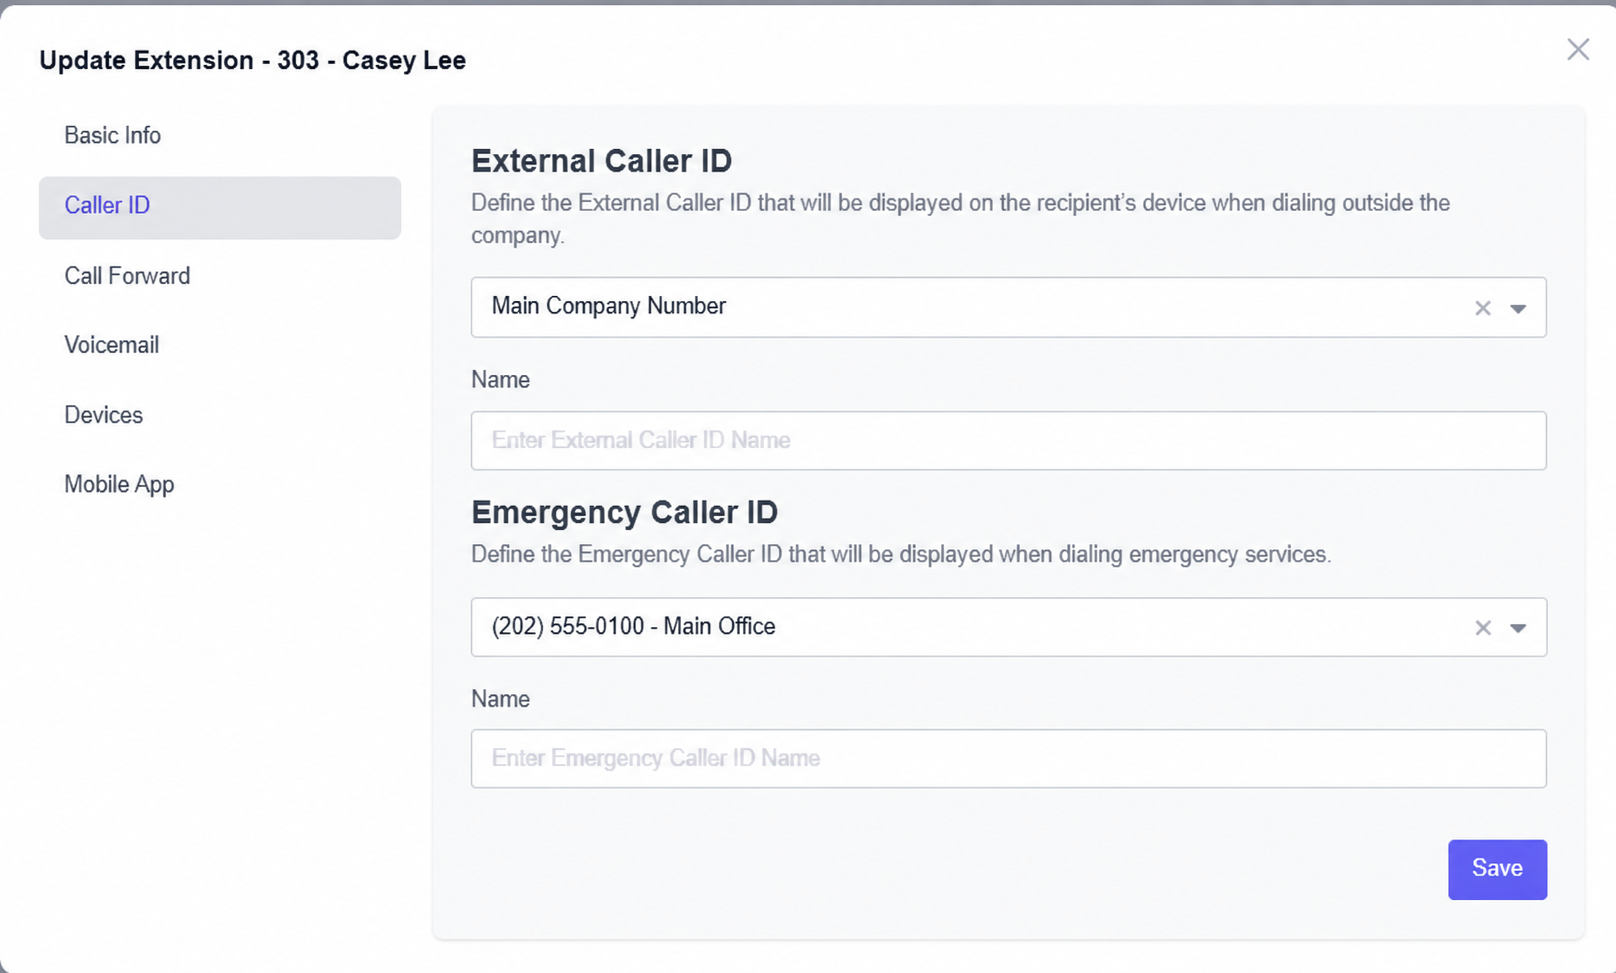
Change the outgoing caller ID
- Choose Caller ID.
- Under External Caller ID, select the business number you want to use for outgoing calls.
- If needed, update the external caller ID Name.
- Select Save.
Contact Junction Cloud Connections before changing Emergency Caller ID, which is associated with the extension’s emergency calling setup.
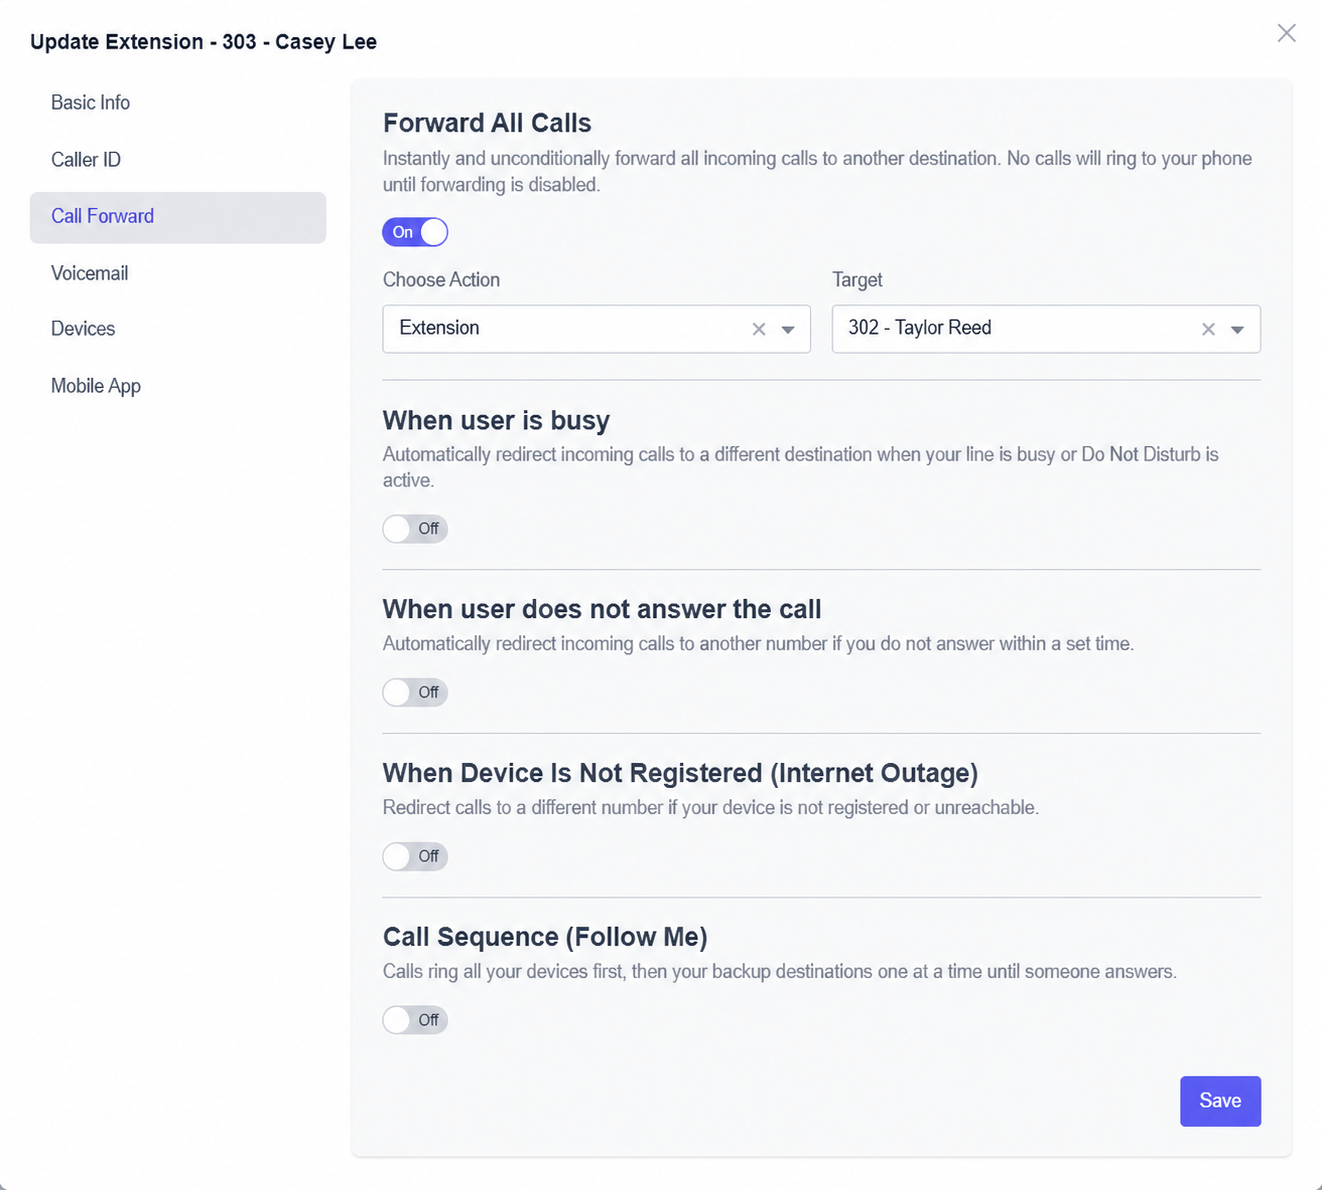
Change call forwarding
Choose Call Forward. Enable the condition you need, choose its Action and Target when shown, then select Save.
- Forward All Calls: sends incoming calls to the selected destination without ringing the extension’s phone. Turn it off and save when you want normal ringing to resume.
- When user is busy: redirects calls when the extension is busy or Do Not Disturb is active.
- When user does not answer the call: redirects calls that are not answered within the configured ring time.
- When Device Is Not Registered (Internet Outage): provides an alternate destination when the extension is not registered. Read the distinction below before relying on this setting.
An office internet outage does not necessarily make the extension unregistered. If Ringotel or another device remains registered—for example, a mobile app connected through cellular data—the system can still see the extension as registered. In that situation, this forwarding condition may not activate even though the desk phone is offline. Do not treat it as a general “office internet is down” switch.
After saving, make a test call from another phone. Test the specific condition you changed; a normal test call does not confirm how an outage rule will behave.
Update voicemail settings
Choose Voicemail. This tab continues below the first screen, so scroll down to see greetings and the Save button.
- Status: turns voicemail on or off for the extension.
- Password: sets the PIN used to access the mailbox. Use a private PIN and share it only with the mailbox owner.
- Voicemail Transcription: converts messages to text, available only if enabled for your service.
- Voicemail Recording Delivery: controls whether voicemail emails include an audio attachment, a download link, or no recording.
- Automatically Delete Voicemail After Email: removes the cloud copy once the email is sent. Leave it off if you want to keep messages in the mailbox as well.
- Copy Voicemail to Other Extensions: sends copies to the additional extensions you select.
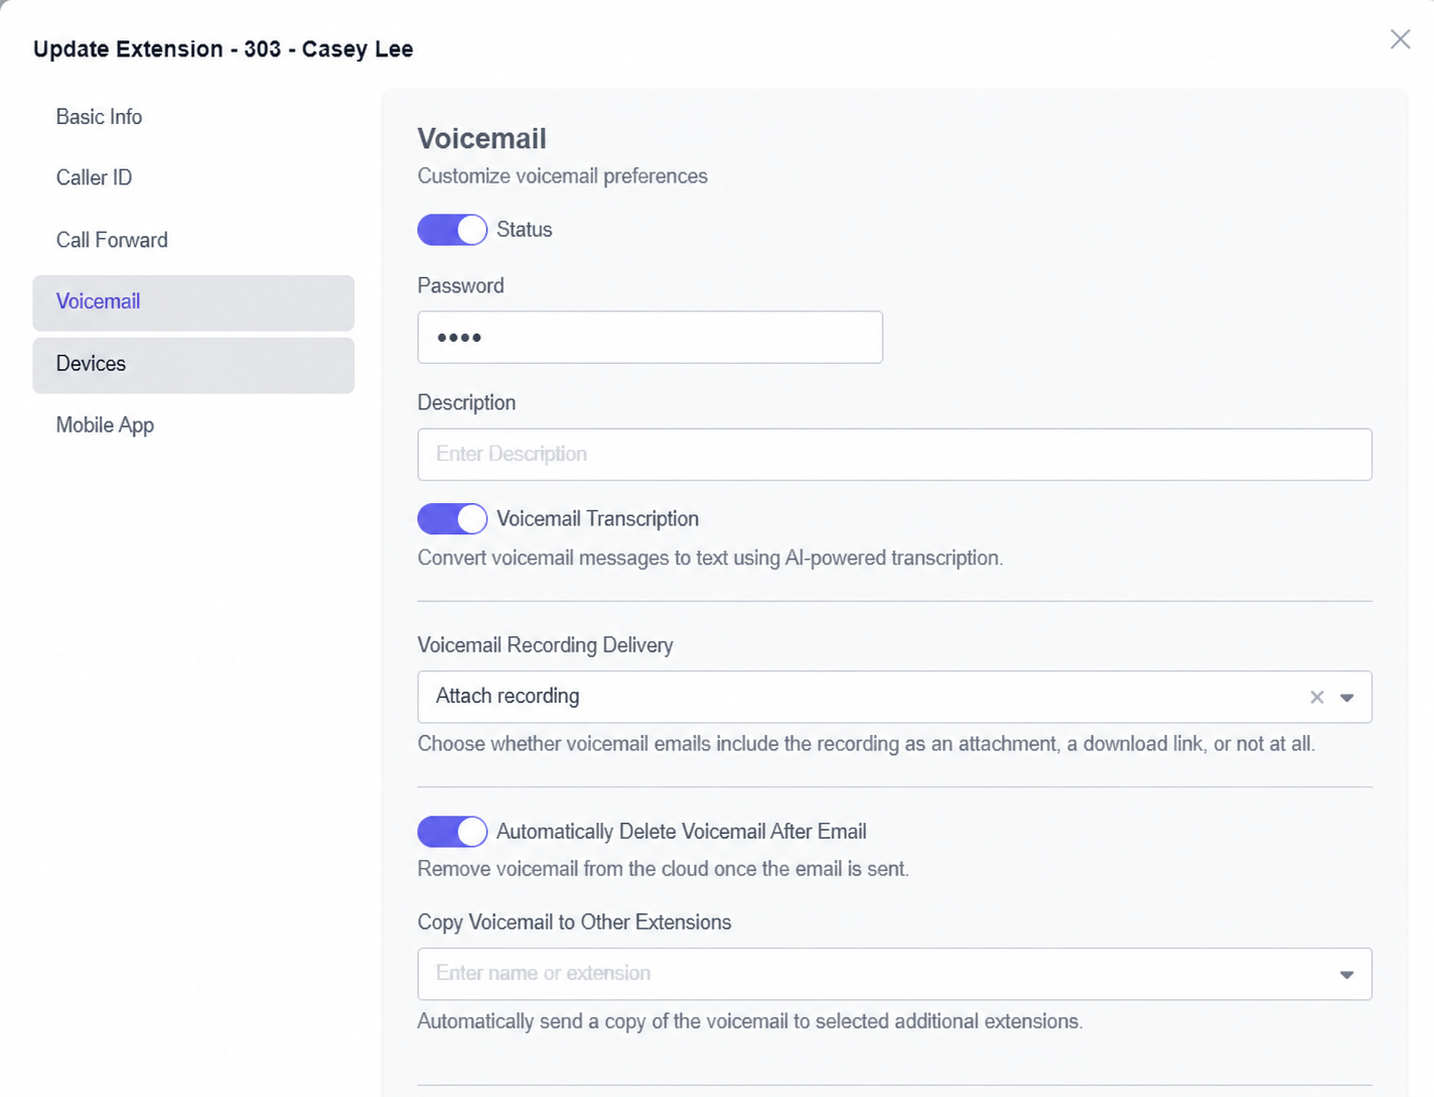
Check the email address in Basic Info before relying on email delivery. After saving, leave a test message and confirm it reaches the intended mailbox and email address.
Choose a greeting and recorded name
Continue down the same Voicemail tab to Voicemail Greetings. Choose an existing greeting using Select Greeting and use the play button to check it.
Dial-by-name Directory Name is the recorded name used by the directory to help callers find the mailbox. It is separate from the full voicemail greeting.
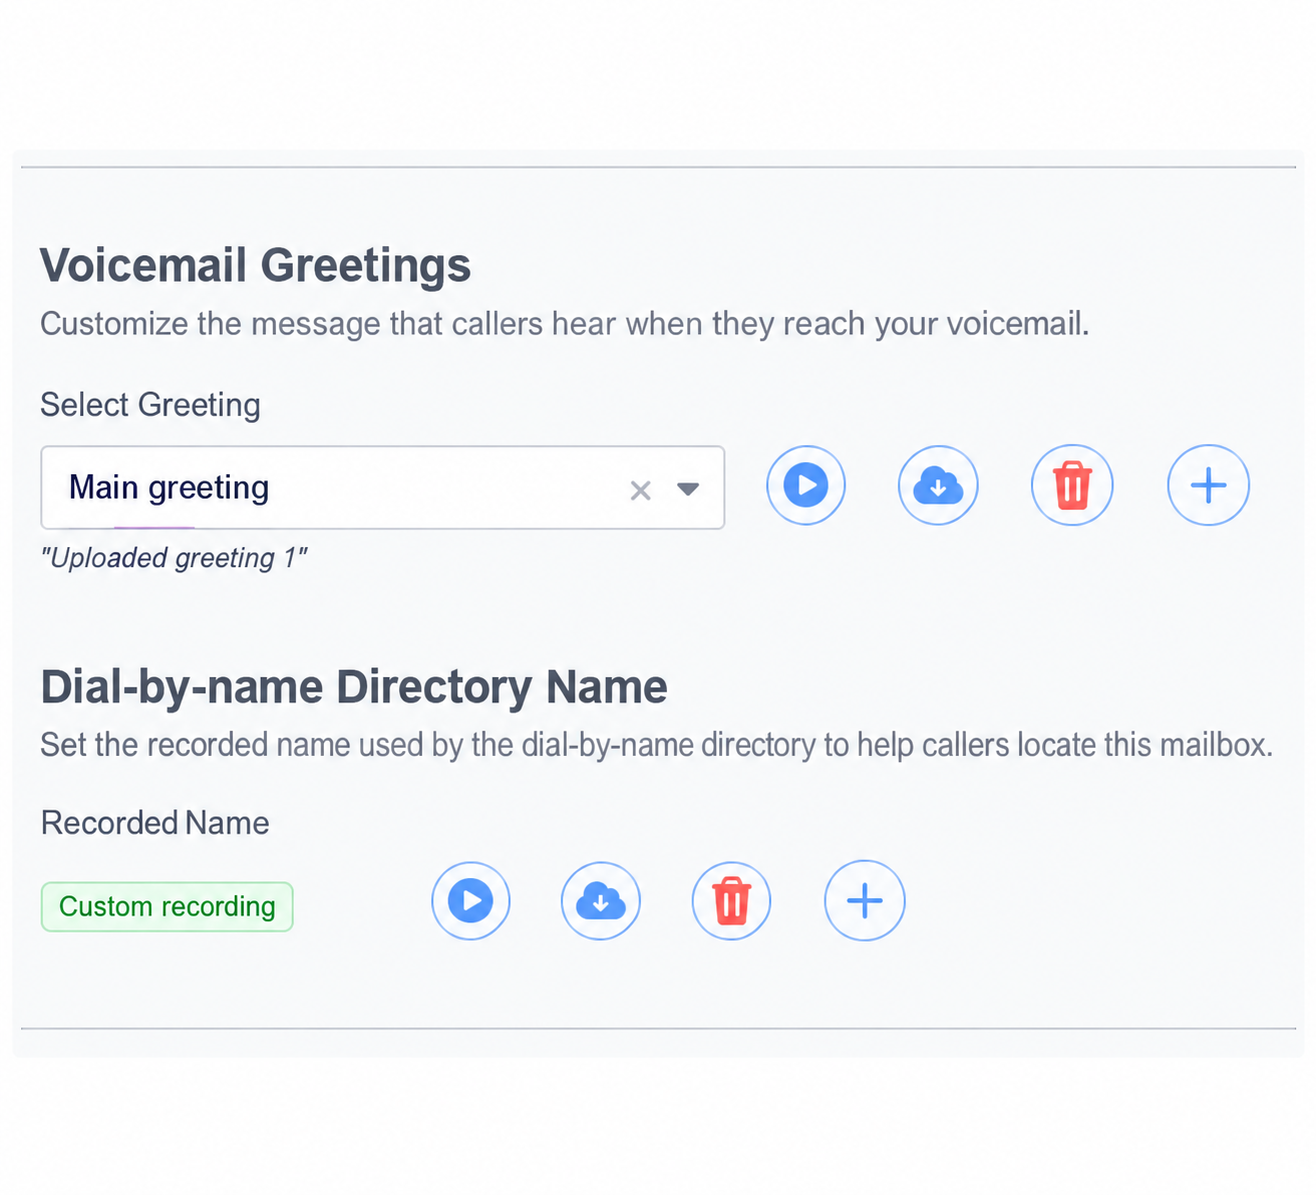
When finished, scroll to the bottom of the tab and select Save.
Check assigned phones
Choose Devices to see the phones assigned to the extension. Each row shows a device’s MAC address, device template, and profile or key template.
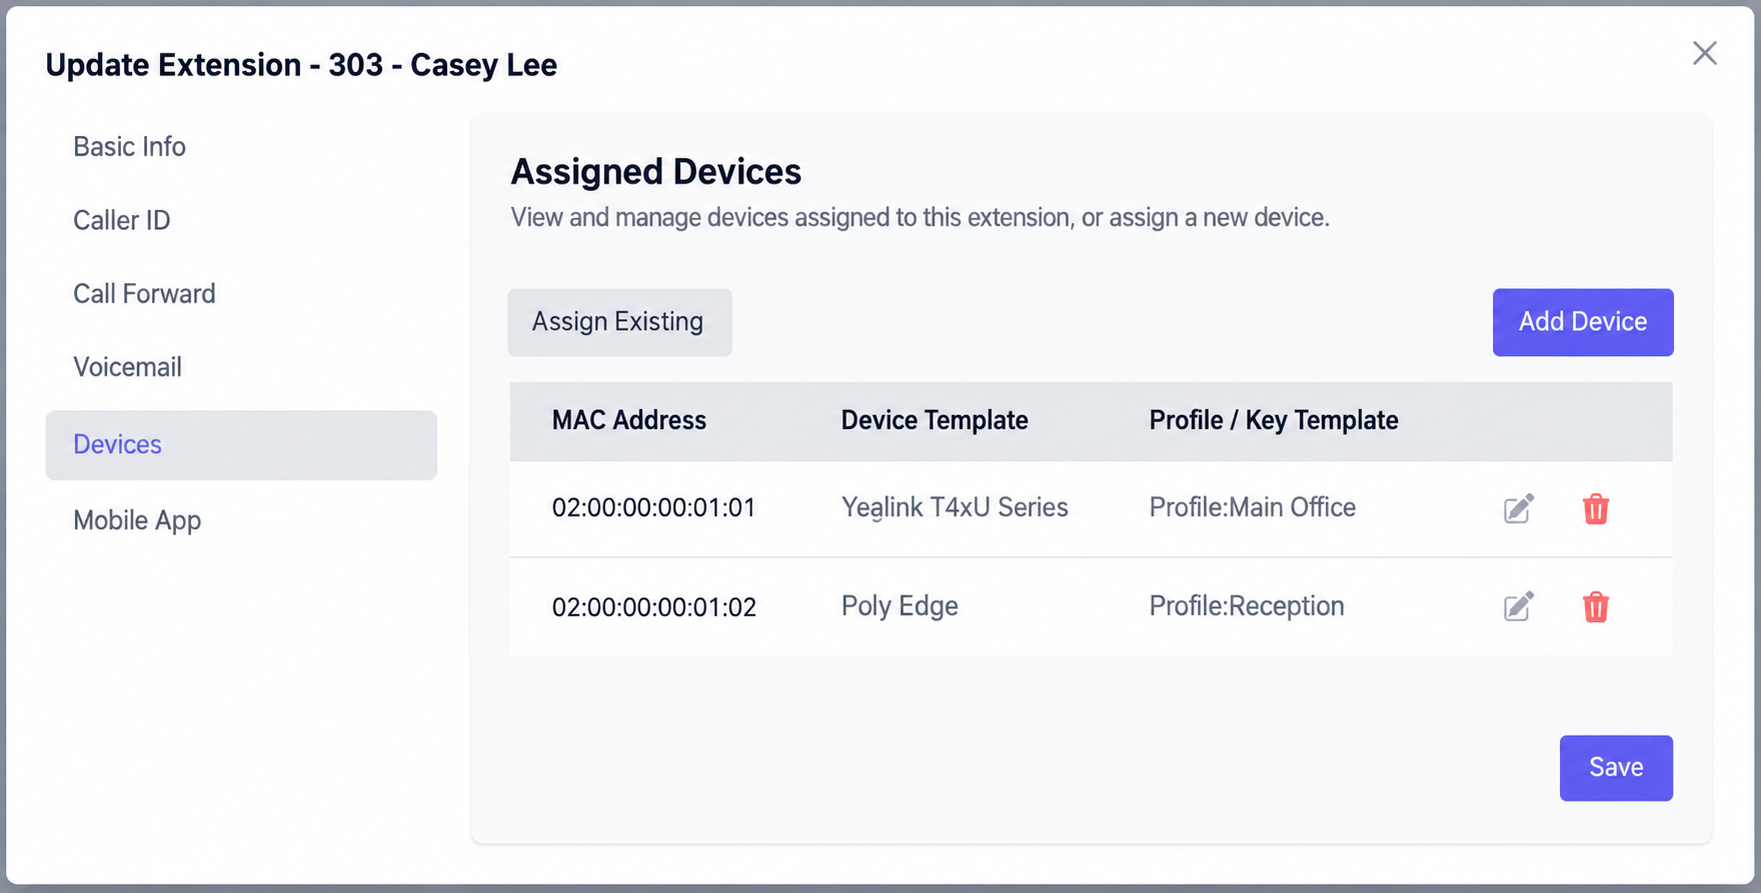
For a new handset, reassignment, or changes to a phone’s provisioning or button layout, contact Junction Cloud Connections with the extension and phone model.
Manage Ringotel access
Choose Mobile App to review app access and the listed devices. This section can include both mobile devices and the Windows app. These options are available only if enabled for your service.
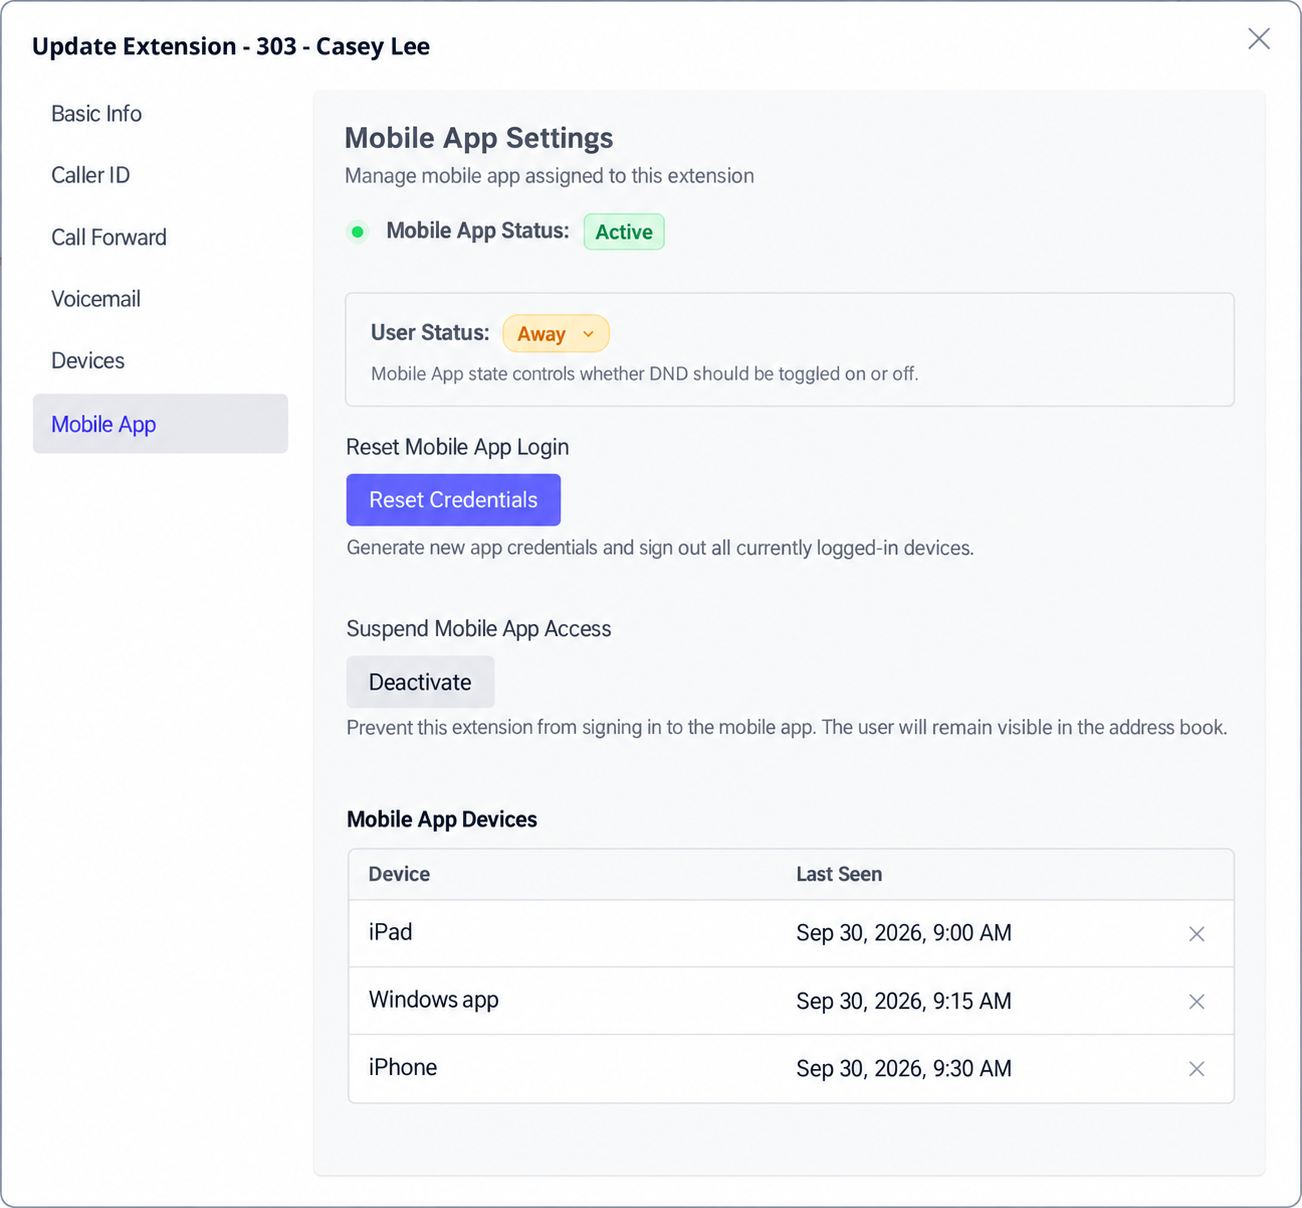
Reset app credentials
Select Reset Credentials when the user needs new app credentials. This generates new credentials and signs out currently logged-in devices. Coordinate the reset with the user so they are ready to sign in again.
Temporarily stop app sign-in
Under Suspend Mobile App Access, select Deactivate to prevent the extension from signing in to the app. The user remains visible in the app’s address book.